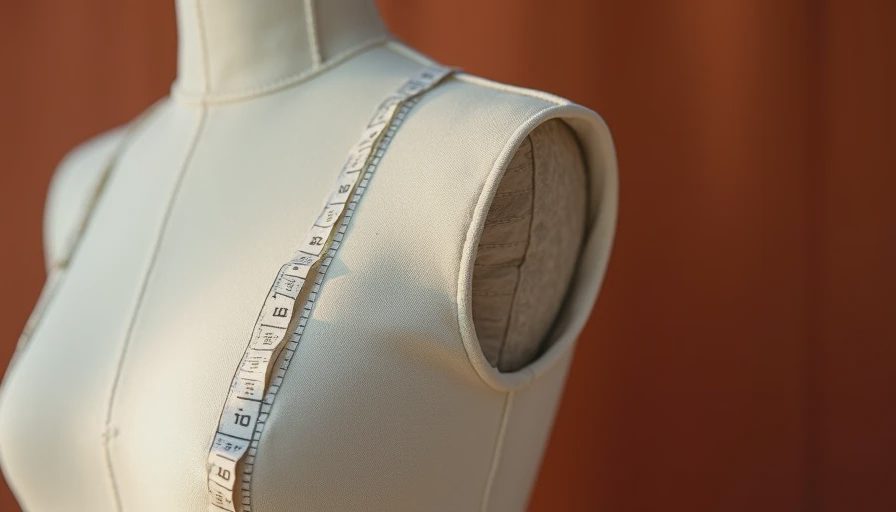
The 2-Inch Armhole War
Let me tell you one of my favorite war stories from the buying trenches.
I was in a factory in Southeast Asia, jet-lagged, surrounded by sample garments, when I noticed something terrible in the size 24 sample. The armhole was so tight it looked like the sleeve was trying to choke the dress form. I grabbed my measuring tape. Two inches too shallow. I politely told the factory manager we needed to fix it.
He smiled, shrugged, and said, “It’s fine for smaller sizes.”
That’s when the argument began.
Hi, I’m Tessa Brenner — former Torrid plus-size buyer turned independent stylist — and today I’m pulling back the curtain on one of the most important yet least discussed measurements in plus-size fashion: armhole depth.
Why Armholes Matter More Than You Think
Armholes might seem like a small detail, but they’re everything. Too tight and you can’t move. Too loose and you get gapping and sagging. In plus-size garments, getting this right is especially critical because bodies vary more dramatically across sizes.
A well-designed armhole allows full range of motion while maintaining a polished silhouette. A bad one ruins the entire garment — no matter how beautiful the fabric or how perfect the color.
The body’s not the problem. The pattern is.
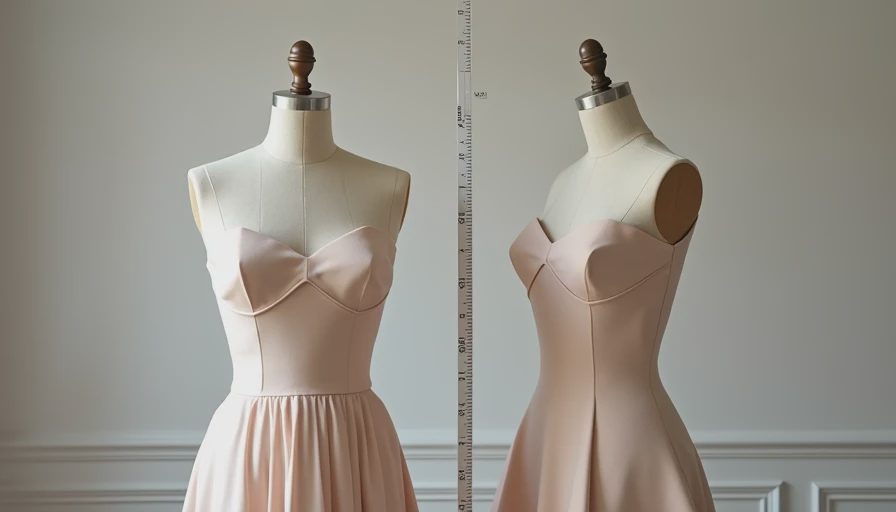
The Factory Negotiation That Changed How I Buy
Back to that factory floor. I had the size 14 sample next to the size 24. The difference was shocking. The smaller size had a comfortable armhole. The larger one? It looked like it had been copied and pasted without any adjustments.
I spent the next two hours explaining pattern grading principles. I showed them how the armhole curve needs to change as the bust and shoulder measurements increase. I pulled out reference samples from brands that do it right. I may have gestured dramatically with my measuring tape.
The factory manager finally agreed to recut the samples. Two weeks later, the new versions arrived with properly deepened and reshaped armholes. The difference was night and day. My team approved the style, and it went on to become one of our better-performing dresses that season.
What Bad Armholes Actually Feel Like
You know that feeling when you try on a blazer or dress and immediately want to take it off? Often it’s the armholes.
Common complaints I hear from clients (and experienced myself):
Restricted movement when raising arms
Fabric bunching under the arms
Visible bra straps or side boob spillage
The garment riding up when you sit down
These aren’t “you problems.” They’re design problems.
The Technical Side Most Brands Hope You Never Learn
In proper pattern making, armhole depth and shape should be adjusted at each size grade. This includes:
Lowering the underarm point
Widening the armhole opening
Adjusting the curve to accommodate different bust projections
Maintaining proper shoulder slope
Many brands skip these steps to save time and money. The result? Garments that only truly fit a narrow range of bodies, usually around the sample size.
During my buying years, I rejected countless styles because the armhole issues were so severe they would have driven massive return rates.
How to Check Armholes Before Buying
Next time you’re in a fitting room, do this quick test:
Put the garment on and stand naturally.
Raise your arms straight up as if asking a question in class.
Lower them and reach forward like you’re typing at a desk.
Check for pulling, gaping, or discomfort.
If it fails any of these, the armhole is likely the culprit.
Pro tip: Look at the seam where the sleeve joins the bodice. It should sit smoothly on your shoulder, not sliding forward or backward.
Stories From Real Women I’ve Styled
Last month I worked with a corporate attorney who had given up on blazers. Every single one she tried either pulled across the bust or cut into her arms. We finally found a brand that grades properly — the difference in her confidence was immediate. She closed a major deal two weeks later wearing her new “power blazer.”
Another client, a professor, struggled with dresses for lectures. The armholes were always too tight for her to write on the whiteboard comfortably. Once we focused on armhole depth as a priority, her wardrobe options exploded.
The Bigger Picture: Respecting Real Bodies
Armhole issues reveal a deeper industry problem: too many brands still design around smaller fit models and then scale up with minimal adjustments. This approach fundamentally disrespects the diversity of plus-size bodies.
At my styling studio in Baltimore, we start every session by measuring shoulders and checking armhole comfort. It’s become the foundation of how I build wardrobes for clients.
What I Want You to Take Away
Next time a garment feels wrong, don’t immediately blame your body. Check the armholes. Check the shoulders. Understand that many fit issues stem from lazy pattern grading rather than personal “flaws.”
I fought for that extra two inches because I knew it would make a difference for thousands of women. That’s the same energy I bring to this blog.
We’re going to keep calling out these problems and celebrating the brands that get it right. Because you deserve clothes that let you move, work, play, and live without constant adjustments and frustration.
Your arms — and your confidence — deserve better.





No notes yet — write the first one.