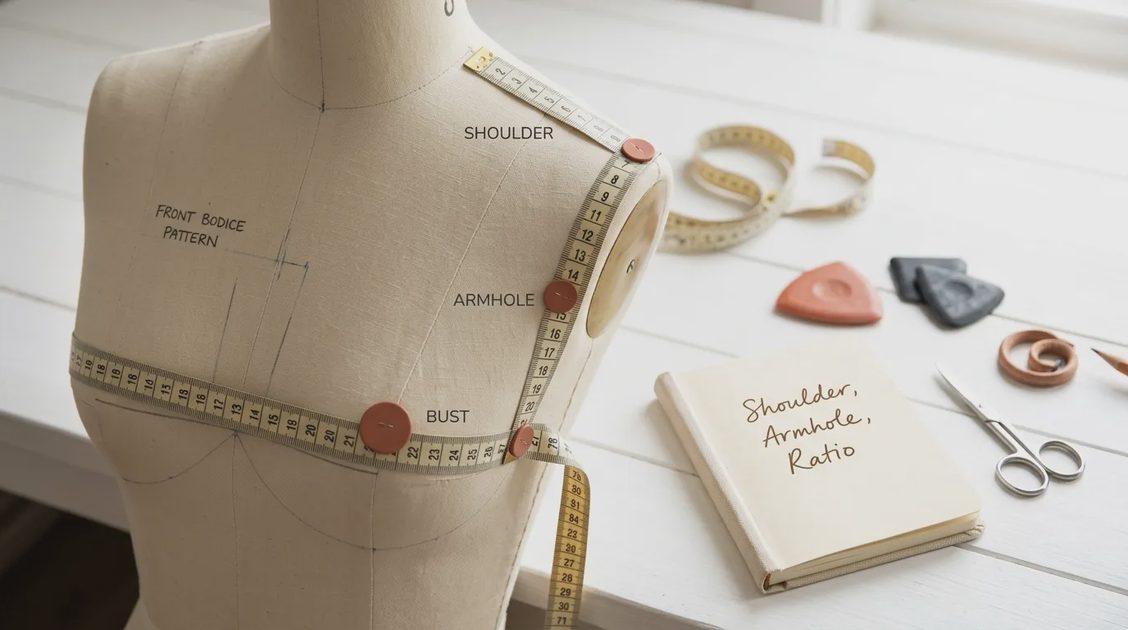
The Size Tag Is the Least Useful Thing in Your Closet
I haven't looked at a size label in years. Not because I'm above it — because I know it's a lie.
Nine years inside the plus-size industry taught me that a "22" from one brand is a "26" from another, and a "20" from that same brand can fit completely differently depending on the fabric, the factory, and the mood of the grader who scaled it up. The number on the tag tells you almost nothing about how that garment will actually sit on your body.
What does tell you? Three measurements. Three things I check on every garment before I even reach for the hanger. Three things you can check too — in the store, at home, or on a product page.
This is the fit check I wish every plus-size woman knew. Consider it the starter kit for Pattern and Person. Everything I've written so far — the armhole deep dives, the grading explainers, the try‑ons — it all comes back to these three.
First: The Shoulder Width
The shoulder seam is the skeleton of any top or jacket. If that seam falls in the wrong place, nothing else matters.
Here's the rule: the shoulder seam should hit your actual shoulder bone — the bony point where your shoulder meets your arm. Not halfway down your bicep (that's a dropped shoulder, which is a design choice but often a lazy one). Not creeping up your neck (that's too small). Right on the bone.
When a brand grades poorly, the shoulder width often doesn't scale properly. A size 14 might have a perfect 16‑inch shoulder. By size 22, it might only grow to 17 inches — because the grader assumed women get wider in the bust but not across the shoulders. Wrong assumption. Shoulders grow with size, and if the garment doesn't account for it, you get pulling, gaping, or that uncomfortable tightness under your arms.
How to check it:
Put the garment on. Locate your shoulder bone. Where's the seam?
If it's off by more than half an inch, put it back.
On a product page, look for a "shoulder width" measurement in the size chart. Compare it to your own (measure from bone to bone across your back). If the brand doesn't give that number, ask yourself why.
Second: The Armhole Depth
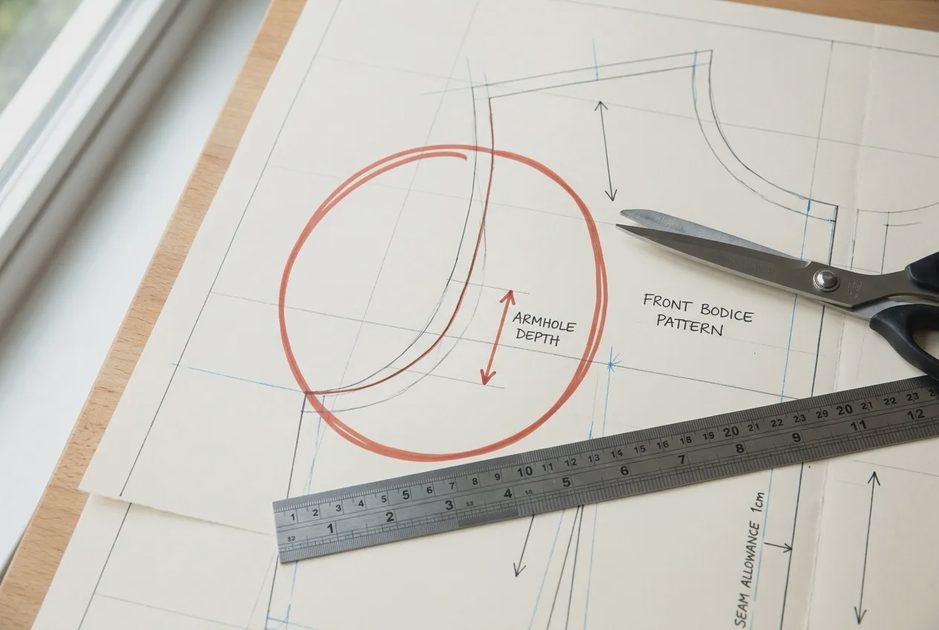
This is the one I've been yelling about since day one. Armhole depth is the single most overlooked measurement in plus‑size fit, and it's the reason so many tops feel like they're trying to strangle you from the armpit.
The armhole is the opening where your arm connects to the body of the garment. In a properly graded garment, that opening gets deeper and wider as sizes go up. In a poorly graded one, it barely changes — the grader just stretches the fabric sideways and calls it a day. The result? The armhole rides up, the fabric bunches under your arm, and you spend the whole day unconsciously shrugging to make it feel less weird.
I once spent three days in a factory arguing about a two‑inch armhole increase. I won that argument — but only because I brought return data showing that larger sizes had triple the return rate for that specific style. Armhole depth was the culprit.
How to check it:
Try on the top. Raise your arm to the side. Does the whole garment lift with it? That's a shallow armhole.
Lower your arm. Is there pinching or pulling in the armpit area? That's a shallow armhole.
On a product page, if the brand provides the armhole circumference, compare it to your own (measure around the fullest part of your upper arm, then add an inch or two for ease). If the number looks suspiciously close across size ranges, run.
Third: The Shoulder‑to‑Bust Ratio
This one is the secret weapon. Shoulder‑to‑bust ratio tells you whether a top will actually hang right on your torso or end up gaping, pulling, or looking like a tent.
Think of it this way: your shoulders and your bust are two different widths. A well‑graded garment increases the bust circumference proportionally to the shoulder width as sizes go up. A lazy grader scales everything up uniformly, which means the bust gets bigger faster than the shoulders — and you end up with fabric pooling under your arms or, worse, the shoulder seams sliding off.
I've seen this disaster in every brand I've ever reviewed. A dress that fits beautifully in a 14 starts pulling across the chest in a 20 because the shoulder‑to‑bust ratio is off. The pattern didn't adjust the shoulder slope to match the larger bust. The result is a garment that makes you feel like you're wearing something designed for a different body.
How to check it:
Measure the shoulder width and the bust width of the garment (laying flat). Divide the bust by the shoulder. That's your ratio.
Compare it across sizes — if the ratio stays the same, that's a red flag. It should change because bodies change shape as they get larger. Brands that do proper grading adjust the ratio. Brands that don't? They just multiply.
The Fit Check at a Glance
Here's the quick version to take with you:
1. Shoulder seam — hits your shoulder bone? Good. Yes? Buy. No? Walk.
2. Armhole — raise your arm. If the whole top lifts, the armhole is too shallow. If it stays put, you're in the clear.
3. Shoulder‑to‑bust ratio — compare the numbers across sizes. If they're identical or nearly so, that's a grading shortcut. Look for brands that actually change the ratio between sizes.
That's it. Three checks. They take less than a minute. They'll save you more returns and frustrations than any size chart ever will.
Why This Works
I've tested this method on hundreds of garments — from Torrid to Eloquii to Universal Standard to Old Navy. Every time I find a piece that fails these checks, I already know it'll be returned at a higher rate in larger sizes. Every time I find one that passes, I know it's a keeper.
This isn't magic. It's basic pattern grading. The body changes proportionally as it gets larger. Shoulders get wider, busts get fuller, armholes need more depth. A garment that doesn't account for that isn't made for your body — it's made for a size 6 scaled up, and it'll show.
The good news: more brands are starting to get this. Universal Standard uses fit models across the entire size range. Eileen Fisher grades properly. Some newer DTC brands are building their blocks from the ground up for plus bodies. They're still the minority, but they're growing.
And you don't need to be a buyer to spot the difference. You just need to know where to look.
Start Here, Start Strong
This is the post I wish I'd had when I started shopping for myself. The post that tells you: it's not your body. It's the pattern. And now you know exactly where to check.
So the next time you're in a fitting room, ignore the size tag. Put your hand on the shoulder seam. Raise your arm. And if the garment fails those checks? Put it down. Walk out. Save your money for something that actually respects your body.
Because your body isn't the problem.
The pattern is. And you're about to become the expert at spotting it.





No notes yet — write the first one.